One of the most confusing things for photographers that are new to using “artificial” or “Off-Camera” lighting is knowing where to start with their exposure. I have found (when combining ambient and artificial lighting) it much easier to start with your ambient light. Ambient lighting is a constant in an image that (in most cases) you have minimal control over.
In this session with Tiva, I really loved the way the hard lighting was coming through the windows in the studio (TheHoustonStudio) and the way it particularly looked as it fell on her body. The part I didn’t like is that the light on her face was too dark. This is typical when shooting in an extremely dynamic scene.

It was easy for me to start off exposing for the ambient in this particular set as I knew the exposure of the light on Tiva’s legs and clothing was most important. The slight overexposure on the lighter colored wall was a product of exposing for her darker skin tone. With my Sony a99, I was able to set a desired aperture, ISO and shutter speed, and see in real time (on my viewfinder) what the finished image would look like, before I ever pressed the shutter. My shutter speed was driven by the fact that I was using flash (under 1/250) and my aperture and ISO was adjusted accordingly. This awesome feature of mirrorless cameras has completely sped up my shooting.
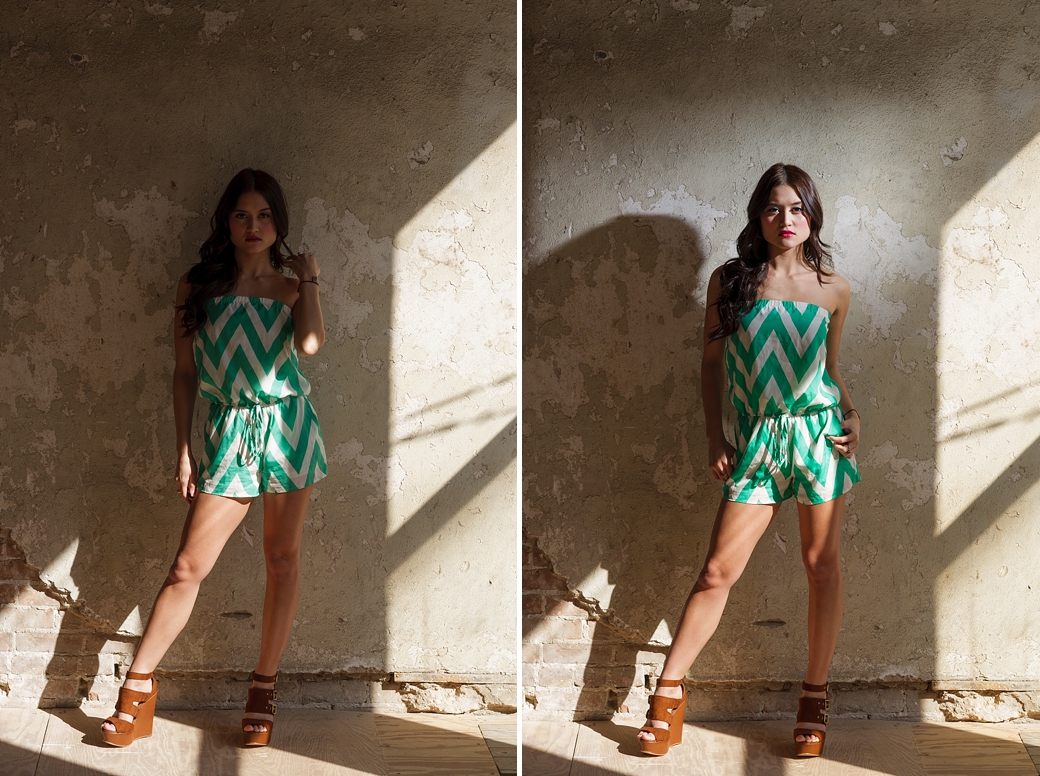
Next, I used an off camera Sony HVL-60M with a grid to ad the “fill” to Tiva’s face as needed. This did a great job of adding a isolated “spotlight” on her face. In hindsight, I wish I had gelled the light to match the temperature of the ambient. It would have melded the two a little more. All in all, I was happy with the images using this technique
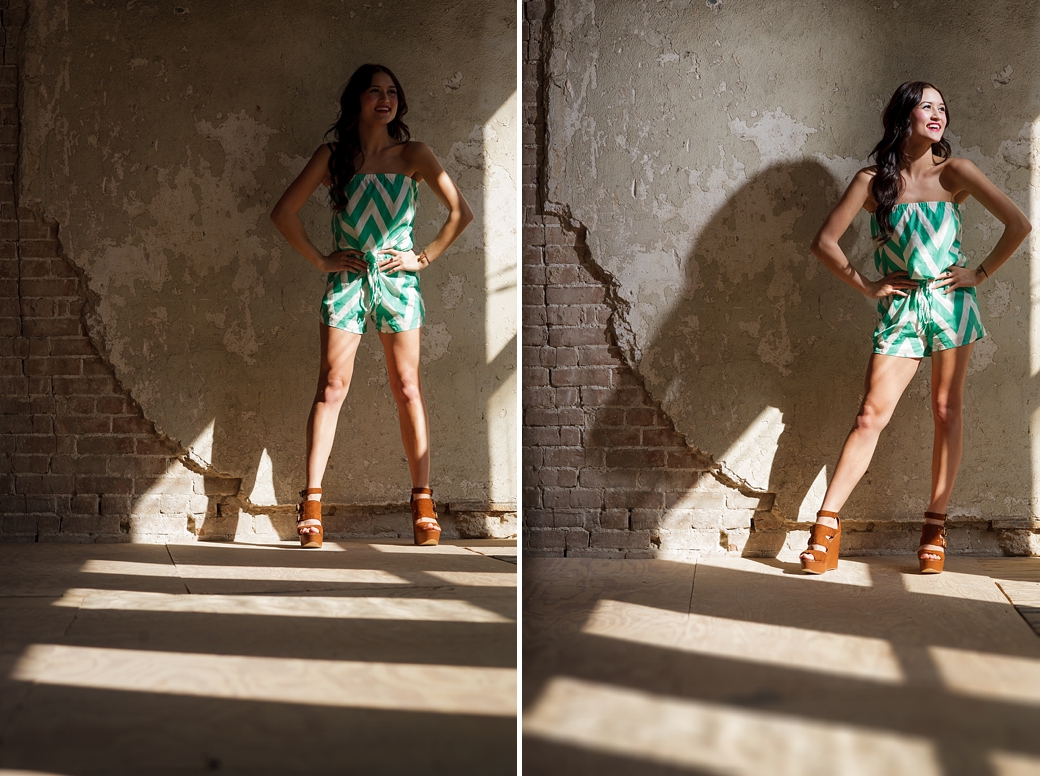 I find that looking at each light source in an image as a layer helps me when thinking of how the finished image will look. In this particular instance, I started with a controlled light source, placed my subject in a position that the controlled light source layered where I wanted it. From there, I added another layer of light, an OCF directed at her face. A different modifier would have changed the layer of OCF lighting, so the choice of a grid/snoot helped keep the OCF from spilling all over the shadowed area of the image. In the end, a very edgy look!


